

Brief
Reflect, evaluate and rework
Having printed your images from the previous exercise, take the opportunity to view all of the pages, reflect on them and evaluate before moving on to the next step of collating and binding the pages together. Which pages are successful? Which pages have not turned out as well as you had hoped? Are there any visual surprises, or happy accidents? Given the experimental and open-ended nature of this exercise, the answers may be quite subjective, but it is important you reflect on these and other questions, to sharpen your self-critical awareness and assessment of your own progress.
You may want to re-work some of the images, and the printing process, and this is your opportunity to do that. You may end up with more and more pieces of printed paper.
Select and collate
Evaluate the strengths and weaknesses in your work and then begin a process of selecting up to 16 pages that work well together as a whole. Do these pages have images on each side of the page, or will the images appear on facing pages only? If you want to create back-to-back images you can work manually to cut and paste images and pages, using spray mount or similar. Equally, you can collage elements of printed ephemera onto and into the pages. Again, the brief is to be experimental, so work inventively with the process, cutting, gluing, pasting and arranging as you see fit. Collate these pages, putting them into a running order from beginning to end.
Binding
Drawing on your understanding of bookbinding so far, bind your 16 pages into a small book format. How will the pages be held together? Consider how the pages might be bound and experiment with solutions. Will you create a cover? Will the pages be stitched, sewn, glued, stapled or will you use another inventive approach?
There are many ways to bind a book, either by hand or by machine. A few examples of bookbinding are saddle stitch, Japanese binding, coptic binding or perfect binding. Consider which binding is most appropriate for your book. There are some good tutorials online of bookbinding and this might be useful for you to have a look at. Try to use one of the bookbinding techniques mentioned above for your own book.
Document the whole process, photograph the book and incorporate them into your learning log, accompanied by supporting work, including pages and images you chose not to include into the final book form.
Reflect, evaluate and rework
Overall, I was happy with my final designs. I spent quite a lot of time on my previous exercise. I think, there are some of them that look stronger than others.

This design is one of my favourites, as it shows movement and it’s energetic. In this collage, I’ve used 3 photos with some geometric shapes and a textured layer on top. I wrapped the text to match the perspective to emphasise on destiny as a vanishing point.

This design is my least favourite one. Although, I think it conveys the message of this part of the poem, I personally think that the images are not very connected.
Binding
Different binding techniques:
1. Saddle stitch binding
When there’s brevity to be bound, there’s saddle-stitching to be found. Better suited to smaller documents, saddle-stitching is one of the simplest ways to secure printed sheets of paper folded in half. Consider it a professional iteration of stapling that appeals to any cost-effective booklet, brochure, catalogue, program or magazine.

2. PUR binding
What gives a paperback its clean PUR-fect edges? A process called PUR. You may have heard the term ‘perfect binding’ and wondered what the difference is. Both use a paperboard or heavy cover stock to attach pages to the spine with glue. But while the two applications are similar in concept, a PUR-bound document uses a special kind of adhesive known as polyurethane reactive (hence where it gets its name from).
If you’re looking to print a paperback, annual report or premium project, PUR makes for a strong, clean spine that’s durable enough to hold heavier stocks.
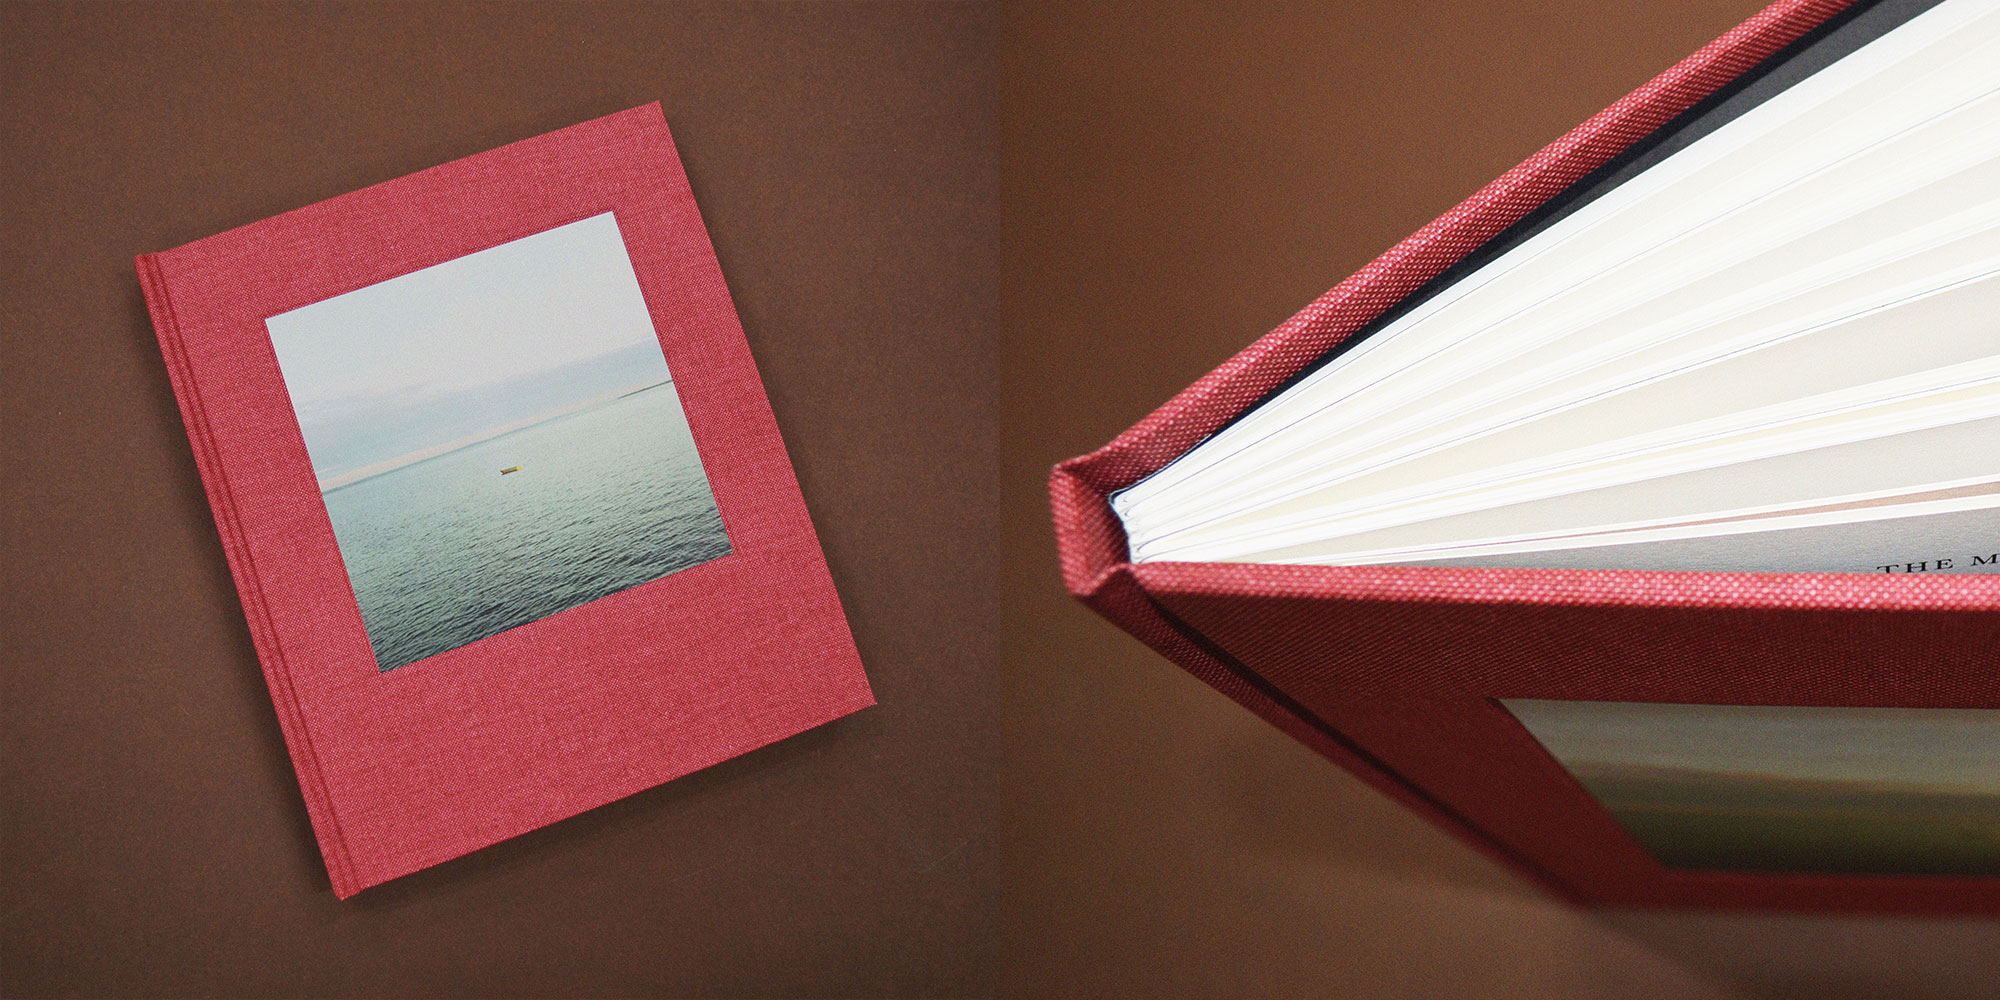
3. Hardcover or case binding
There’s nothing quite like a beautiful book that’s been bound to remarkably high standards of quality. Either section sewn or bound from single sheets, this sturdier option will ensure your book becomes an alluring addition to any coffee table or bookshelf. While a hardcover or casebound book can be more expensive to produce, they do boast a longer shelf life and much higher value.
If you’re planning to sell your work, there really is no substitute. Books bound in a rigid cover and finished with material such as vellum or buckram are often produced with a hollow back and visible joint so as to open more freely.
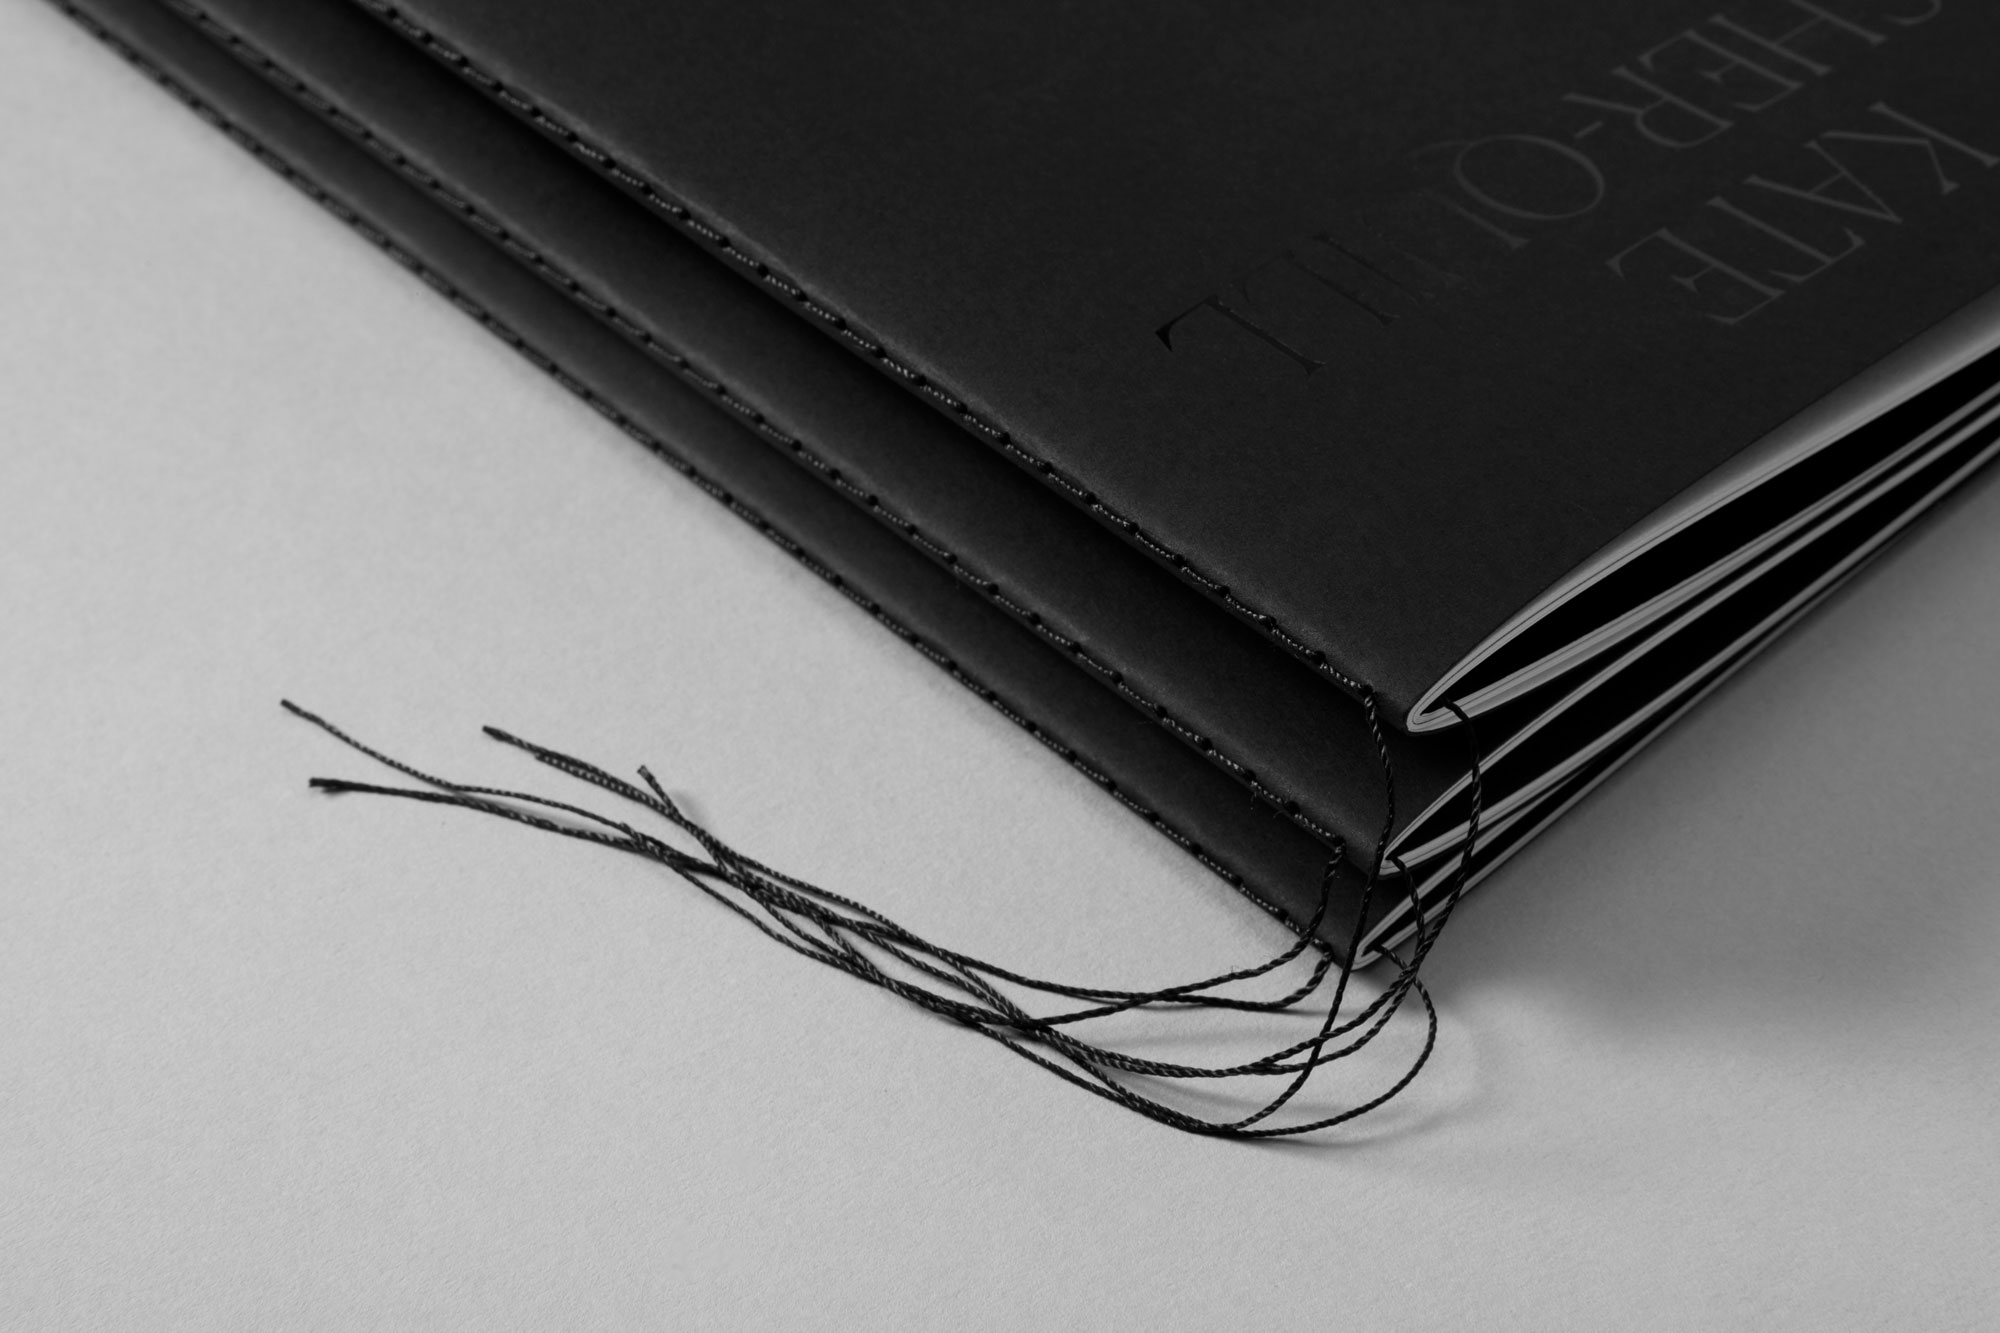
4. Singer sewn binding
Collating pages for a creative project—looking for something a little whimsical? Singer sewing is a beautiful, traditional method of bookbinding where a single thread (of any colour) is stitched through folded pages at the spine. With no adhesives or staples, this secure binding method is typically used on books with a single section. The stitching can either be visible on the outside or tucked neatly away on the inside.
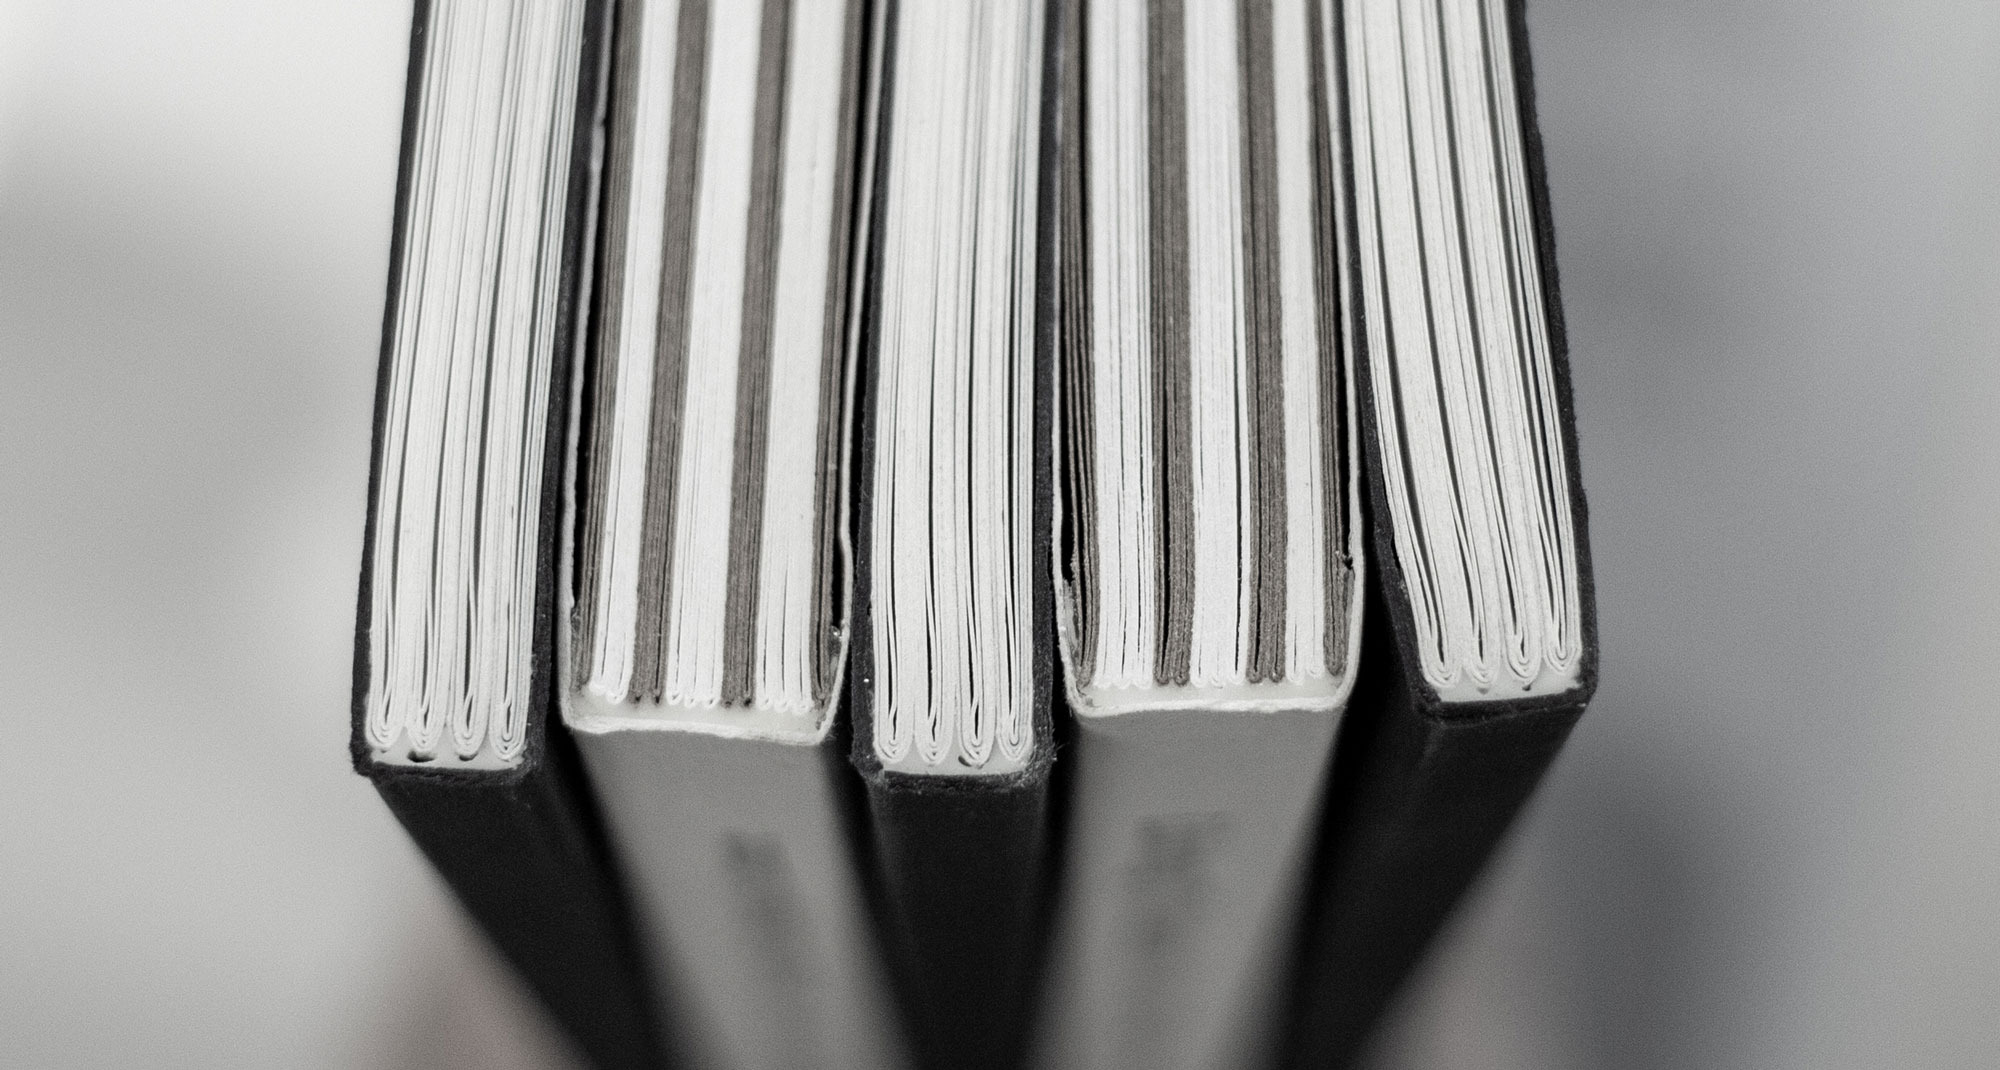
5. Section sewn binding
As the name would suggest, this type of binding is sewn in sections along the spine and glued together for a sturdy finish. Ideal for small and large documents, section sewing enables you to lay your book out flat regardless of its page count.
6. Coptic stitch binding
Like section sewing, you can lay your documents flat with coptic stitching. Although this method is similar in form, a coptic stitch bind offers a non-adhesive finish. Regardless, this type of binding offers a flexible spine without sacrificing strength. It’s an option that allows you to open up your book completely without affecting its integrity over time.
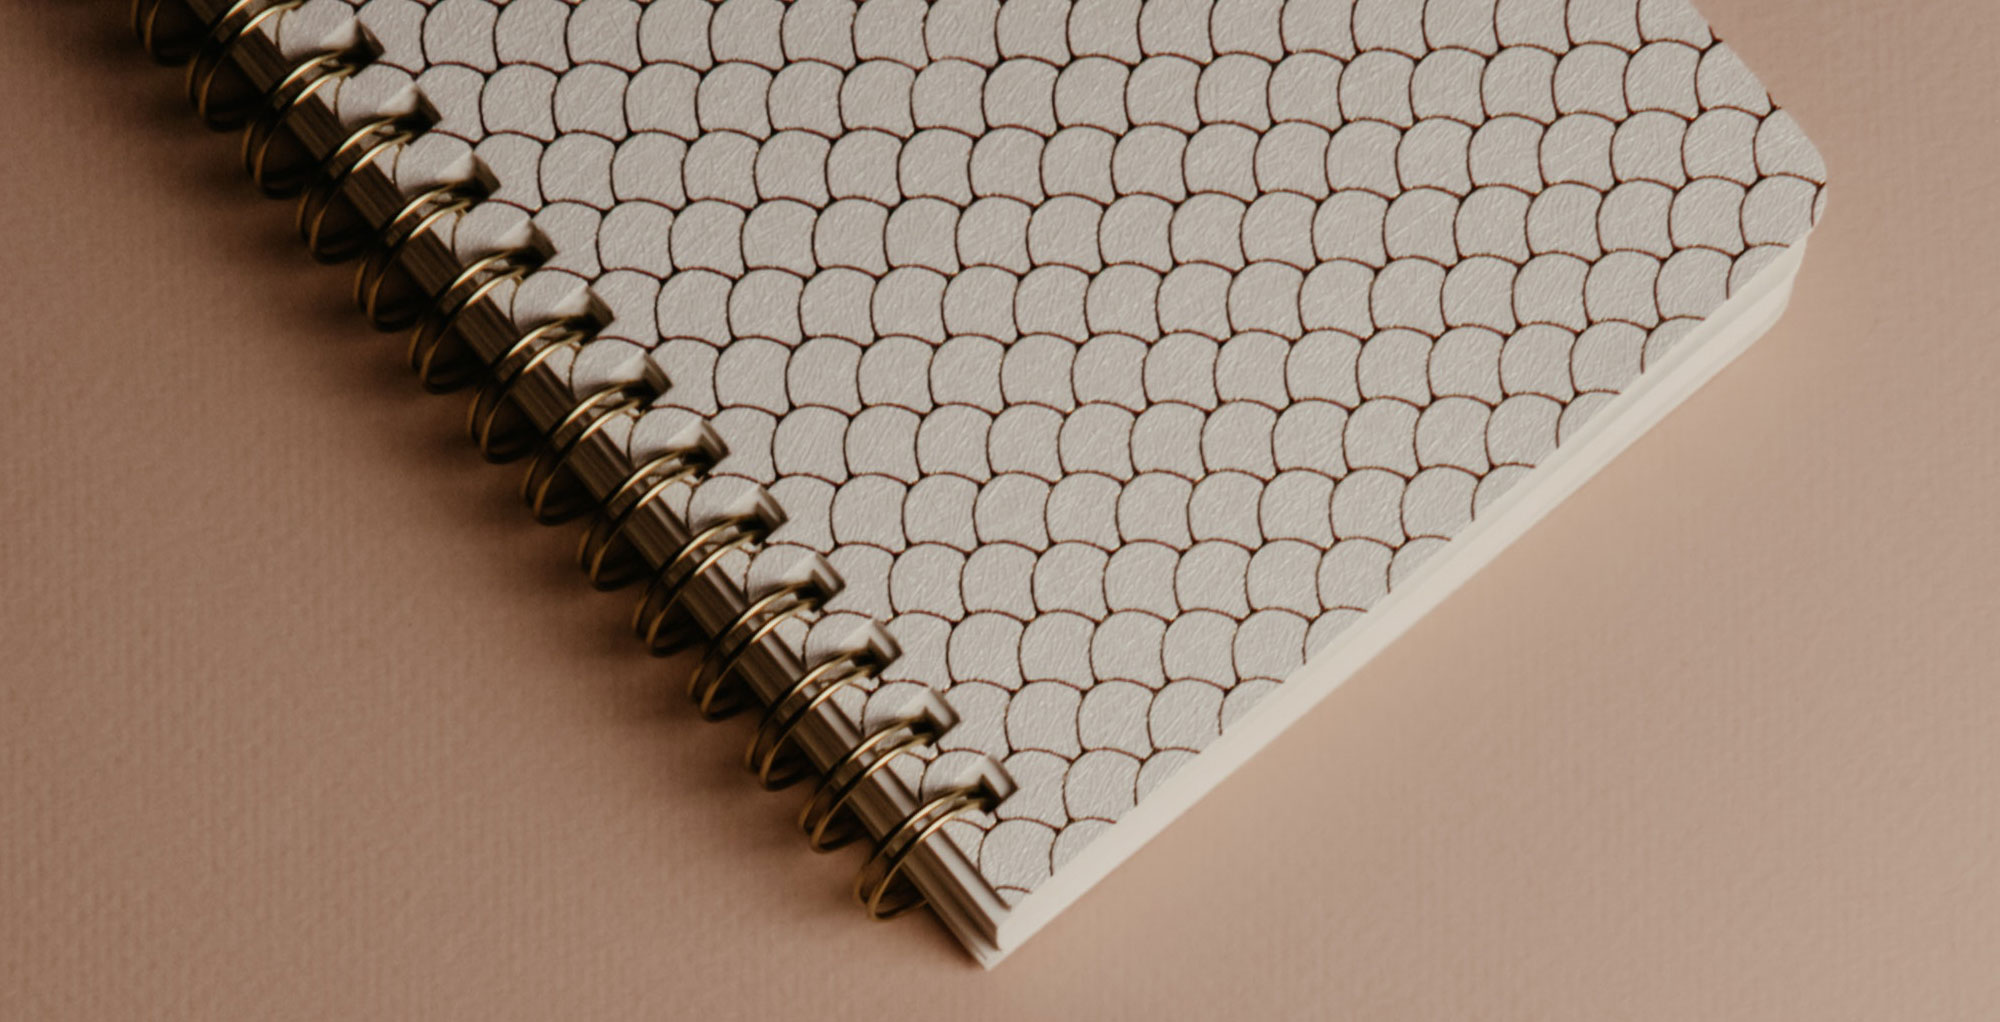
7. Wiro, comb or spiral binding
The quintessential method for commercial documents and school exercise books that involves a simple loop wire and hole puncher. But don’t underestimate the power of a wire, comb or spiral bind. This option is extremely versatile and popular to boot.
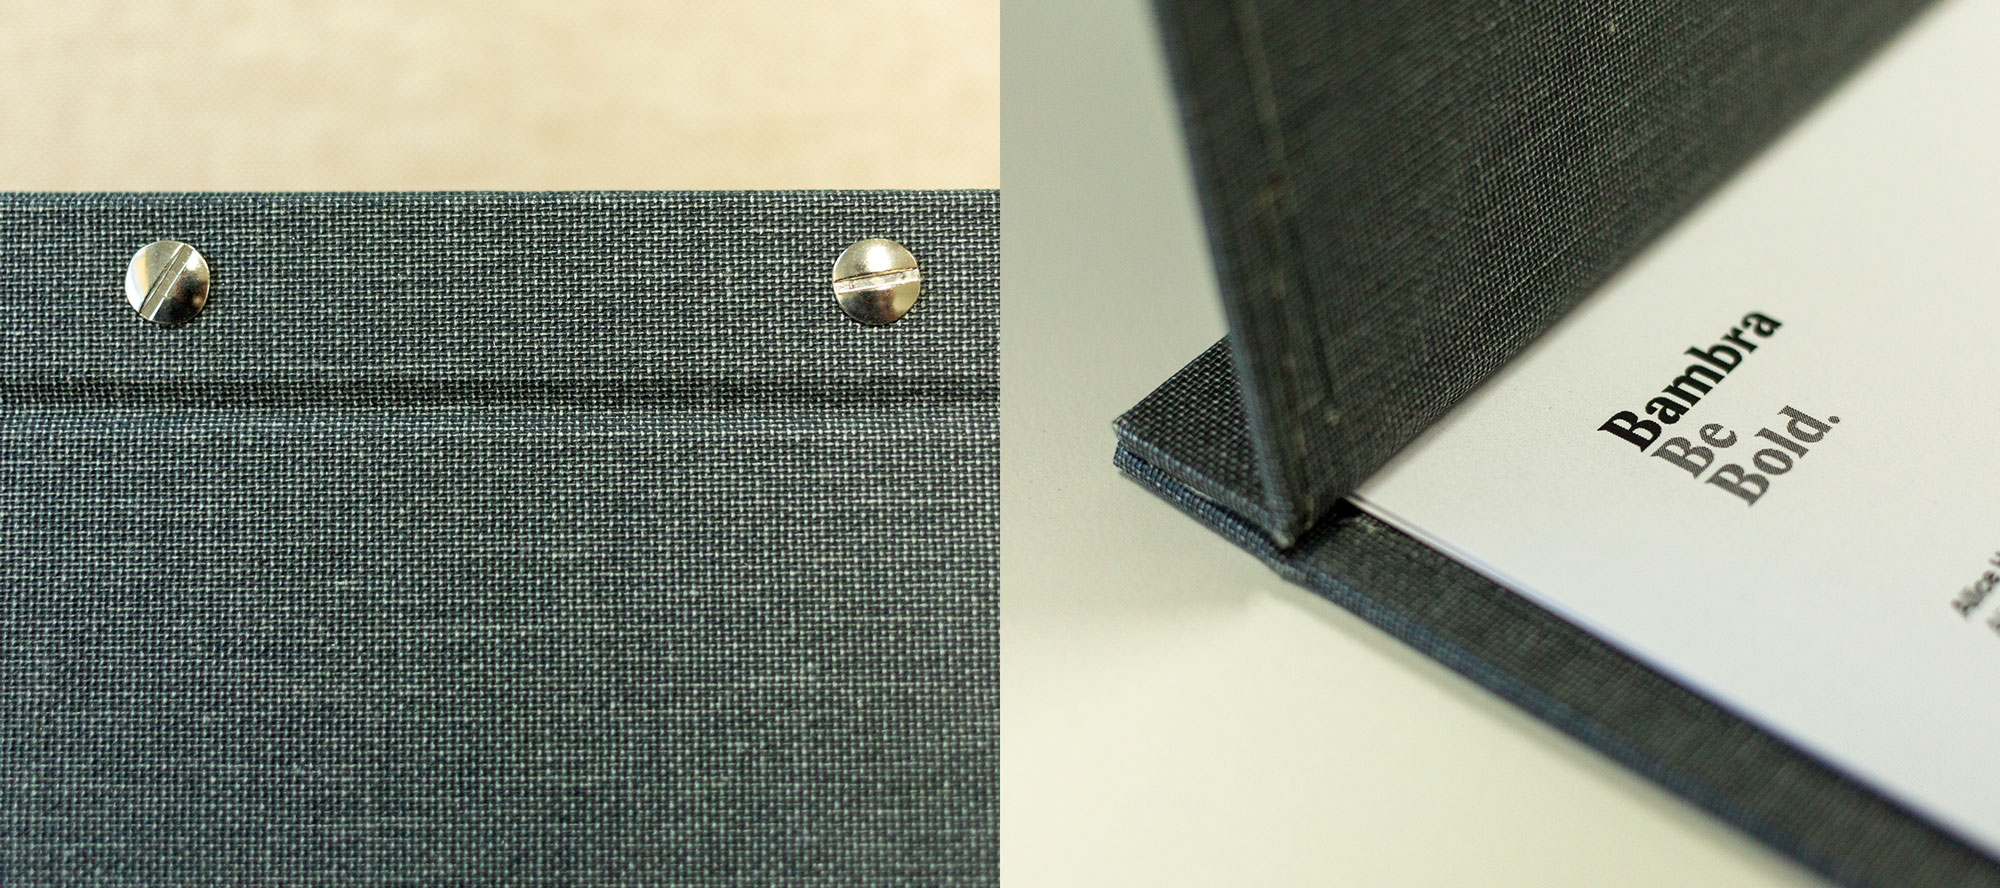
8. Interscrew binding
Also known as Chicago screw binding, this exceptionally durable print finish is a great option for any portfolio or office document. Holes are drilled with the utmost precision and fixed with binding screws between two covering boards. This style of binding is a cleaner looking alternative to ring binding and still gives you the ability to add or remove pages as needed, which is great for restaurant menus and portfolios.
9. Japanese binding
A traditional softcover style of binding in which single leaves are laced together with a needle and thread, with the exposed lacing treated as a feature of the style. This method does not allow the book to be laid flat, but its detail and charm adds heart to any journal or notebook.
10. Solander boxes and slipcases
Solander boxes and slipcases are the ideal way to store your archive and/or precious material. It’s a luxurious form of packaging that can be custom-made to your exact requirements. Choose from a variety of styles (shoebox, matchbox, veranda box, clamshell box or slipcase) and embellish your logo or title with flashy foil or debossing.

Page numbering

I decided to make A5 size booklet. Page one is going to be the cover and page 16, the back of the booklet.
I am going to use saddle stitch binding. I know it’s the simplest way of binding, however , it’s the technique that I’ve got all the resources available.
Design process


I used Indesign to make my booklet spreadsheet. As I’m going to use saddle binding I sorted out the pages in the right order. I decided to use my design from exercise 2 as a cover page.


Final book


Self-reflection
This exercise was very useful for me as it made me more aware of book design process. It is obvious that book design is not just about designing a cover page. In this exercise, I thought about print process and binding in more depth. I just used a home printer so the quality of my work is not very high. However the process was helping me to visualise of what could be a challenge to design a book in a real life.
I just used the equipment I had at home for the binding. I hope I can have a chance to try other techniques as well. I hope I can use whatever I’ve learnt in this exercise in the future.
Sources
Bambara. 10 Book Binding Methods You Need To Know. At: https://bambra.com.au/news/10-book-binding-methods-you-need-to-know/. (Accessed: 17/09/2022)

One Reply to “”